Přeložit do češtiny pomocí Google Translate ...
Labs: 1, 2, 3, 4, 5, 6, 7, 8, 9, 10, 11, 12, 13, 14.
Table of contents
The goal of this lab is to introduce you to command-line and control of your machine from a shell.
We will also browse the file system of a typical GNU/Linux and learn about several small, but very useful, programs that are used in the command-line environment.
Fire up your terminal, please ⚓
For this (and almost all other labs) we will be working in the terminal. Please, locate this program in your environment and start it. Depending on your environment, it will be either Terminal, Console, or perhaps even Shell (although, technically, shell is the program running inside a terminal emulator).
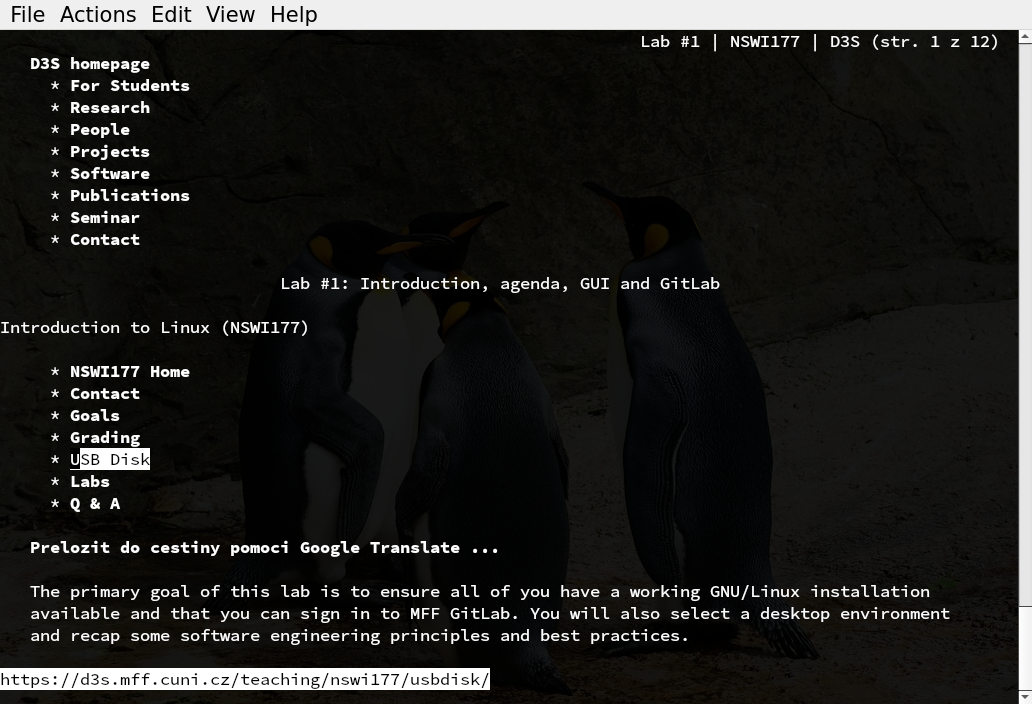
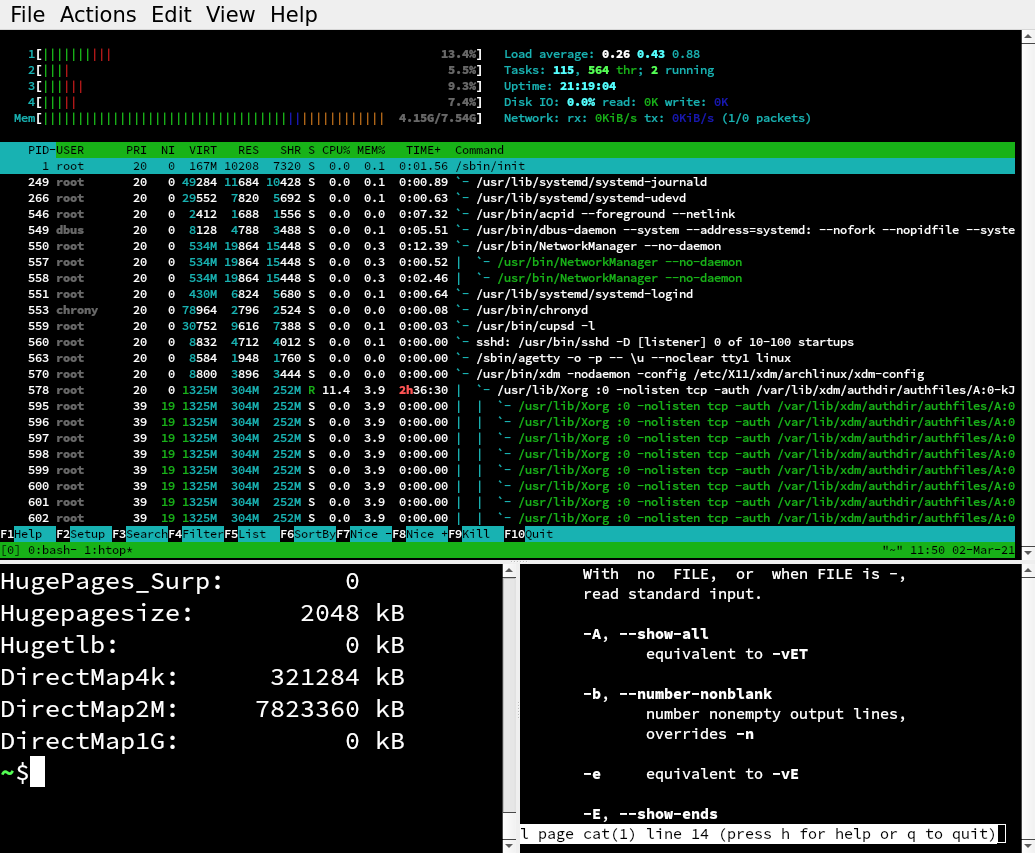
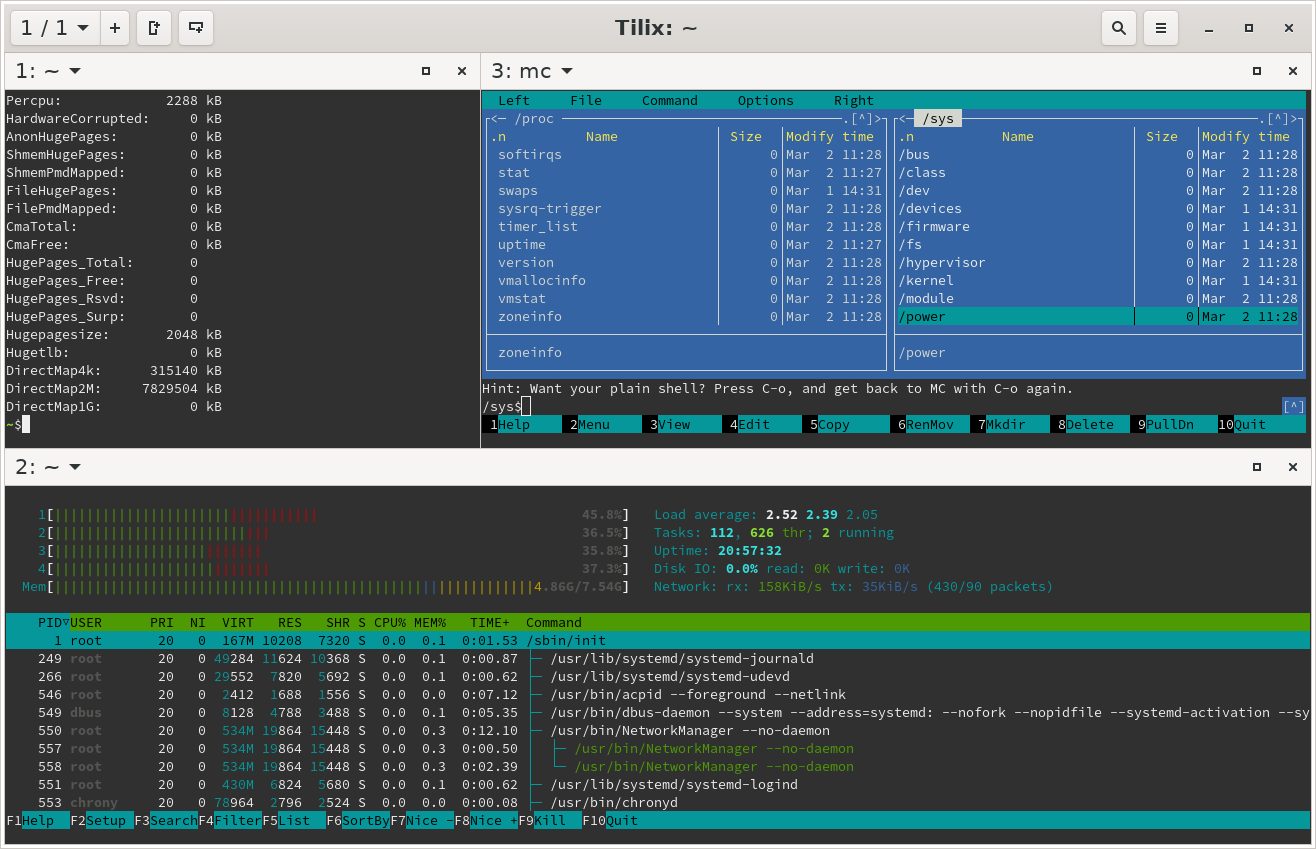
We recommend you spend some time configuring the look of your terminal, such as having a nice font family and a reasonable font size. You will be spending quite a lot of time with it, so make the experience nice. Below are some possibilities of what you might get :-).
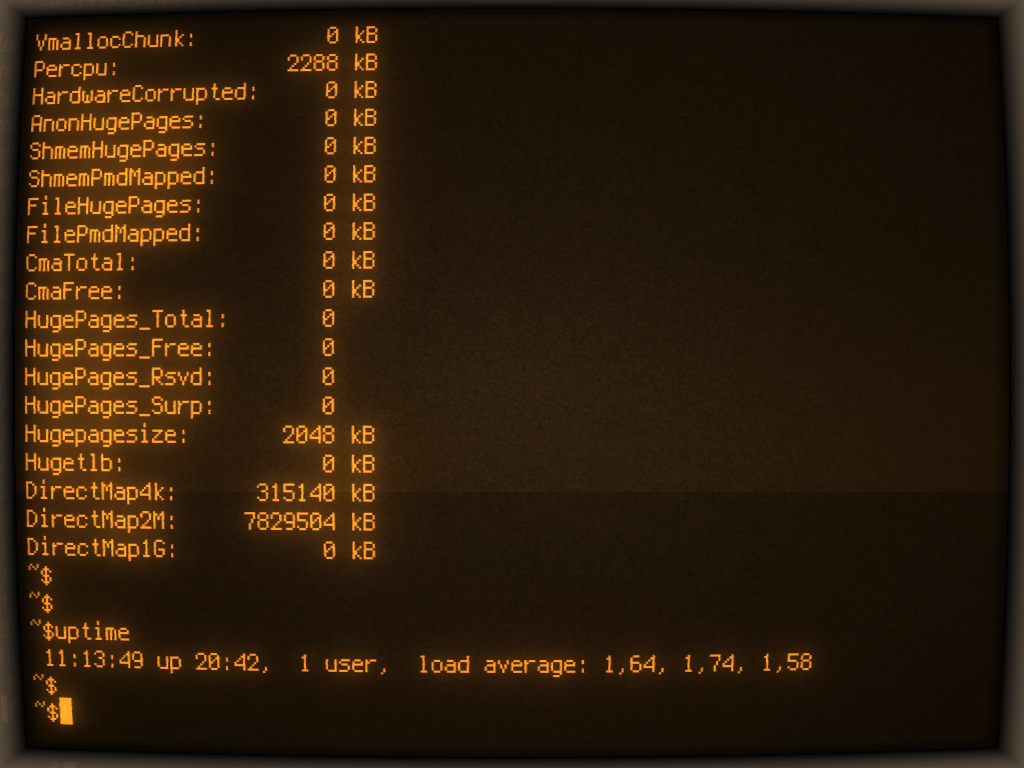
Once you start the terminal, type uptime and start this command by submitting
it with <Enter>.
Until you hit <Enter>, you can easily edit the command.
Shortcuts such as <Ctrl>-<Arrow> for jumping over words works too.
For further reading (and for much faster editing), we recommend to read BASH shortcuts. There is also this Czech video by Petr Hodač Jednoduché zkratky that shows how to use Emacs-style shortcuts in a terminal.
Below is the last screenshot of the terminal output. From now on, we will be using textual dumps as they are searchable (and much easier to prepare too).
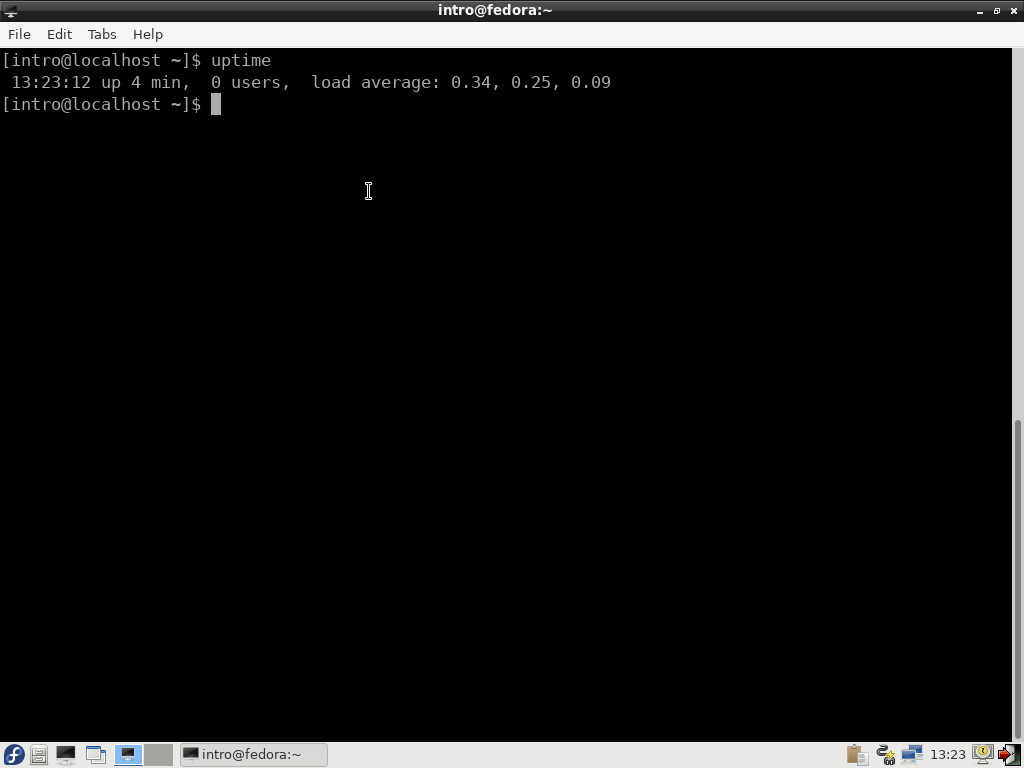
As you can see, uptime prints how long is your machine running (since the last
reboot), how many users are logged in, and the average load of your machine
(roughly, if you divide the number by the number of CPUs you have, you will get
a percentage of time your CPU is doing useful work and not just idling).
Okay, but why? ⚓
Before we jump into practically using the terminal, let us name a few reasons why it makes sense (in the age of touch screens) to control your computer via keyboard.
First of all, it is explicit and precise. There is no danger that a user would have a different skin or different set of taskbars when describing an action to make. Using the exact command leaves no place for misunderstanding.
Next, it is also rather fast. Once we start comparing the possible speed of a mouse when clicking on icons versus the speed of keyboard keystrokes, the keyboard would be a clear winner (assuming in both approaches we would know what we want to do).
And partially connected with the above reasons, it is also easy to save the typed commands into a file and re-run later. Such (text) files are called scripts in the Linux world. They can simply be a list of commands to execute but can also consist of loops and conditions to execute more sophisticated actions.
And from the machine side, it is also extremely efficient. Especially when we talk about remote access over an unstable connection. The difference between sharing even a small 800x600 screen vs sending keystrokes is substantial. Managing Linux servers over a flaky 2G connection is possible, managing a server offering only GUI over such a poor connection is out of question.
The downside is that an exploratory approach is a bit more complicated. In a GUI-oriented system, you can try clicking on various icons and explore the system relatively easily. On command-line, you need to learn a lot of commands to use the system effectively. However, you are not forced to remember every single option for every single command, as there is an easily accessible comprehensive documentation (more on this topic in later sections).
The fact that the shell we will be using was born about 50 years ago and is used untill today suggests that the pros are worth it. The beginning might be difficult, but you will not regret it in the long run.
Prompt and Shell ⚓
You will see something like [intro@localhost ~] and a blinking cursor
after that.
This is called a prompt and if you see it, it means you can enter your commands.
The prompt is displayed by your shell which is an interpreter of the commands you enter. The shell is actually a full-fledged programming language, but in this lab we will use it to launch very simple commands only.
Navigating through the filesystem ⚓
We will start with a simple navigation through the file system. Two basic commands will get you through.
Directory listing with ls ⚓
The ls command lists files in the current directory.
Note that on Unix-based systems we typically use the word
directory to specify the file-system concept and
folder when referring to non-filesystem grouping, such
as in your e-mail client.
Executing ls shall produce something like this:
Desktop    Downloads  Music     Public     Videos
Documents  gif.md     Pictures  Templates
Now run ls -l. That is, ls and -l separated by space.
Here we are calling the program ls and giving it an extra argument, -l.
Because the argument starts with a dash, it is actually a so-called
option (or switch) that instructs ls to modify its behavior.
Now ls prints something like this
total 4
drwxr-xr-x. 1 intro intro    0 Feb 19 13:43 Desktop
drwxr-xr-x. 1 intro intro    0 Feb 19 13:43 Documents
drwxr-xr-x. 1 intro intro    0 Feb 19 13:43 Downloads
-rw-r--r--. 1 intro intro 1022 Mar  2 18:13 gif.md
drwxr-xr-x. 1 intro intro    0 Feb 19 13:43 Music
drwxr-xr-x. 1 intro intro    0 Feb 19 13:43 Pictures
drwxr-xr-x. 1 intro intro    0 Feb 19 13:43 Public
drwxr-xr-x. 1 intro intro    0 Feb 19 13:43 Templates
drwxr-xr-x. 1 intro intro    0 Feb 19 13:43 Videos
The -l turned on the so-called long mode where more details about
each file are printed.
We will return to the meaning of some of the columns later on, deciphering the columns for the last modification time and the file size is straightforward and sufficient for the moment.
Changing working directory with cd ⚓
The cd command allows us to change the current (working) directory.
It takes one argument – directory we want to switch to.
Thus, cd Documents would move us to the Documents directory.
Execute ls here.
What is the output?
Answer.
. and .. directories ⚓
When we are descending into a directory, we simply specify
its filename as the cd argument.
When we want to go one directory up, we need to use a special
directory .. (two dots).
This name always refers to the parent directory.
Directory . (single dot) refers to the current directory.
While it may seem useless at the moment, we will see several
important use-cases later on.
For now, you can check that running cd . will not change your
current working directory (because you effectively change
your directory to the same one as you were before).
Filenames and paths ⚓
Move to some subdirectory, e.g., Videos.
You probably noticed that the command prompt changed whenever you
switched to a different directory.
By default, it shows only the last component of the path.
To show the full path, we need to run pwd.
It will show something like
/home/intro/Videos
Three important things to notice if you are coming from Windows environment. Path components (directories) are separated by a forward slash, there is no disk drive letter designation, and filenames are case-sensitive.
All directories eventually end up in a common parent directory that
is simply / (one forward slash).
Different disks or partitions are mounted as directories
(and they can be mounted at an arbitrary depth).
Note that the word mount means “connecting” the partition to
a specific directory so that files from that disk appears under
that directory.
If you would mount your NTFS partition with Windows under /mnt/win,
you would see directories such as /mnt/win/Program\ Files or
/mnt/win/Users.
Filename extensions ⚓
Another difference is that the system does not enforce or restrict
the use of an extension in the filename (e.g., .zip or .pdf).
In fact, a file can exist without it and can even have multiple
ones.
A typical example of multi-extension file is file.tar.gz which denotes
that the file is a tape archive (.tar) later compressed with gzip.
Actually, this is a typical example of division of responsibility
on unix systems.
There is a separate program that is able to create one file from multiple ones
(that is, the archiver) and another one that is able to compress just one file.
While the user can easily pack/unpack such file with one command, the difference
is captured by the extension and the programs can be developed separately.
And from a practical standpoint, gzip can be easily replaced by a different
compression algorithm without any need to change the archiver.
Please, see notes at the end of this page for further explanation
of the archiving tools.
Tab completion ⚓
Typing long filenames can be cumbersome and making typos is annoying. Shell offers tab completion to help you with this.
For this example, we assume you just launched your terminal and ls
prints Desktop Documents Downloads Templates etc.
If we want to change to directory Templates, start typing cd Te
and hit <Tab>.
Unless there is another filename (directory) starting with Te, the
name shall be completed for you and should read the full cd Templates/.
Submitting the command with <Enter> would switch you to the
directory as we would expect. Try it and come back to this directory again.
Now, let us switch to Documents directory.
For this example, type cd Do and press <Tab>.
There are two directories with this prefix: Documents and Downloads.
Because the shell cannot know which one you want, it does nothing.
However, pressing <Tab> for the second time shows the possible matches
and after typing c (the next letter), <Tab> can finish the completion.
Tab completion is an extremely powerful feature that saves hundreds of keystrokes and makes your interaction with the shell much faster.
In a small print, we note that shells in other operating systems also offer tab completion but in a less organized manner.
As an exercise, what happens if you type cd and hit <Tab>?
Answer.
Type just c (as in cd) and hit <Tab>. What happens?
Answer.
Text user interface tools ⚓
While the use of purely command-line tools such as uptime, ls or cd
is cool and extremely useful for scripts, there are also occasions
where a more interactive approach is faster.
In this sense, Linux typically offers three layers you can choose from. From a fully graphical one called Graphical User Interface (GUI), over a tool with a Text-based User Interface (TUI) to a pure Command-Line Interface (CLI). Every of these can be useful, depending on the circumstances.
By a textual user interface we mean what is offered by Midnight commander or Ranger.
Midnight commander ⚓
Run mc and navigate through the files as you have done with ls
and cd.
The numbers at the bottom refer to your functional keys for
typical file operations (e.g., F5 copies the file).
Note that in a typical setup, MC offers two panels with file listing,
you switch between them via <Tab> and, by default, copying is
done to the directory in the other panel.
MC is a quite powerful tool as it can inspect file archives, show files on a remote machine, etc.
We will briefly mention the most important things that you can do with it. Do try them :-)
<Insert>allows you to select multiple files for deletion/copying.<F3>displays file contents.<F4>offers simple text editor with syntax highlighting.<*>allows you to enter a filename mask to select multiple files at once (we will talk about this more later in the Wildcards section).<Ctrl-o>hides the panels and temporarily switches you back to shell. Perfect for running commands without leaving MC.
You can quit MC with <F10> or via a menu (activated by <F9>).
Note that some terminals capture <F10> to activate their window menu
(but this behaviour can be tuned in Preferences of the terminal application).
Ranger ⚓
Ranger is a Vim-inspired filemanager for the console. It brings some well-known key bindings from the Vim realm together with tabs pages.
Navigation
j- Move downk- Move uph- Move to the parent directoryl- Open file or move to directorygg- Go to the top of the listG- Go to the bottom of the listgh-cd ~gm-cd /mediagr-cd /q- Quit Ranger
Working with Files
zh- View hidden filescw- Rename current file<space>- Select current fileyy- Yank (copy) file (or selected files)dd- Mark file (or selected files) for cut operation filepp- Paste yanked or cut file(s)dD- Delete file (or selected files)
See more on Ranger: A terminal file manager.
Editing file contents ⚓
You probably noticed that the Development submenu contains several graphical text editors that you can use to edit the source code. However, it is also possible to edit files in TUI editors.
If you are asking why to learn another editor (if you are already happy with some of the graphical ones), here is the answer. On some machines, you may not have access to GUI at all. Recall that we talked about remote access earlier: in that case you will have only TUI available (and you will often need to edit files on the remote machine). Some users thus never use GUI editors at all, the reasoning is that it is much better to learn (and customize) one editor properly, and that editor is a TUI-based one.
On our disk, you will find Emacs, Joe, mcedit and Vim.
Each has its own advantages and it is up to you which one you will choose.
Note that mcedit is probably the closest to an editor you may know from other
systems.
joe is a small one but perfectly suitable for script editing that we
will be doing most.
Both emacs and vim are extremely powerful tools that can do much more
than just edit files.
However, they require a bit of time investment before you can start using them
effectively.
If you are new to Linux, we would recommend you to use mcedit (either using it
directly or when editing files in Midnight commander) and come back to
the other ones later on for a final decision of THE text editor of your choice.
All of these editors can be launched from the command-line, giving it the filename
to edit as a parameter (e.g., mcedit quiz.md).
Excursion: fetching files from web ⚓
We will now do a slight excursion away from the file system. We will show a program called wget that can be used from command-line to retrieve files from the Internet.
wget is extremely easy to use – you simply add URL of the file you
want to fetch as its argument and run it: wget will download it
for you.
We will be using wget only in this rudimentary form now, although
it is an extremely powerful tool that can be used even to mirror whole
websites.
Fetch file for examples below ⚓
Run the following command to fetch a file from our server. We will be using it in some of the examples below.
wget https://d3s.mff.cuni.cz/files/teaching/nswi177/202021/labs/nswi177-lab02.tar.gz
Note that if you open this file in mc
(press <Enter> on the nswi177-lab02.tar.gz),
mc will allow you to inspect its contents and even copy files from
it like from a normal directory.
Use it to extract all files: you should have the nswi177-lab02 directory
on your disk now (i.e., visible and navigable with ls and cd).
By the way, what happens when you run wget twice with the same URL?
Will it overwrite the previously downloaded file?
More about paths ⚓
Even though the subsections here may sound theoretical, do try the examples yourself. We will build on the knowledge gained in this lesson later on.
Home directory ⚓
You probably noticed that when you start your terminal, the directory
name you see there is just a ~ even though it should read intro
(or your username on that particular machine) as the last component
from pwd.
However, the path /home/intro is your home directory and has a special
shortcut of tilde ~.
Futhermore, if you just run command cd without any extra arguments, it will
change the directory back to your home.
Absolute and relative path ⚓
So far, all of our examples used a relative path, i.e., a path that has to be taken relative to another directory to form a full location – the absolute path.
On Linux, each absolute path must start with a slash, if a path does not start with a slash, it is treated as a relative path to the current working directory.
Wildcards ⚓
So far, we used ls to display all files in a directory.
If we are interested in only a subset, we can specifically name them
on the command line.
Move to the directory where you have unpacked the nswi177-lab02.tar.gz.
You should see the following files:
a/ b/ c/ one.txt two.txt three.txt four.txt
If we want to list only details about the text files, we can execute
ls -l one.txt two.txt three.txt four.txt
-rw-r--r-- 1 intro intro 0 Mar  3 13:38 four.txt
-rw-r--r-- 1 intro intro 0 Mar  3 13:38 one.txt
-rw-r--r-- 1 intro intro 0 Mar  3 13:38 three.txt
-rw-r--r-- 1 intro intro 0 Mar  3 13:38 two.txt
Doing that for more files would not be very elegant, but the shell offers so called wildcards to specify multiple files at once. Thus, the same output can be obtained by running
ls -l *.txt
It is essential to note that ls (or any other program for that matter)
will receive the expanded list of files
– finding the matching files is done by the shell, not by individual programs.
Thus for the above example, from inside ls there is no way to distinguish
whether the user used the full list or the *.txt wildcard.
You will experiment with this in one of the next labs where we will talk about
accessing these parameters in your favorite programming language.
For developers, it means that they do not need to care about implementing
the wildcard expansion themselves.
The program would always receive a list of existing filenames, not a wildcard.
By the way – is the last sentence completely correct?
What happens if we run ls -l *.txxxt?
Answer.
How would you print all files starting with the letter t?
Answer.
If we would like to print only information about files starting with
either o or f with .txt extension, we would use.
ls [of]*.txt
If we want to print files that end with any of the letters from a to f,
we could use
ls *[a-f].txt
Try it in the a subdirectory.
Note that the files are sorted alphabetically when specified via wildcards.
Switch back to your home directory.
And now list all files/directories starting with D (recall that Linux
is case-sensitive).
You might be surprised because a straightforward ls D* would actually
list the contents in these directories.
It is perfectly expectable, because ls Documents is supposed to
print a list of files in that directory.
If we do not want ls to descend into directories, we can
add -d option to prevent that.
What happens when you specify a file that does not exist? And what if only some of the specified files do not exist? Answer.
Hidden files and ls -a ⚓
Files that start with a dot . are by default not listed by ls.
If you want to see these files too, you have to either name them
explicitly or use the -a option.
Try in the nswi177-lab02 directory.
What hidden files are in your home directory? Answer.
It is important to remember that dot-files are completely normal files (or directories) and it is just a convention to not show them by default. It is not a security measure. It just keeps the listing a bit less verbose.
Typically, a configuration (e.g. which wallpaper you have on your desktop) is stored in dot-files as they are usually supposed to be ignored by the user (at least most of the time) and would only clutter the listing.
Exploring file contents ⚓
We have already mentioned text editors and MC to look into files when working in the terminal. They are not the only options.
Text files ⚓
The simplest way to dump the contents of any file is to call
program called cat.
Its arguments are filenames to print.
The name cat has nothing to do with the mammal but refers to the
middle of the word concatenate as it can be used to actually concatenate
files.
Move to the b subdirectory.
Executing cat 000.txt will show the contents of 000.txt on the screen.
How would you show the contents of all files in this directory? Answer.
Binary files ⚓
If we want to dump binary files (such as images), it is usually better to dump their bytes in hexadecimal.
hexdump utility can be used for that.
Use it to dump the contents of c/sample.gif.
Answer.
Often it is better to use -C switch to print ASCII characters too
(where possible).
The dump of the GIF file then looks like this:
00000000  47 49 46 38 39 61 0a 00  0a 00 91 00 00 ff ff ff  |GIF89a..........|
00000010  ff 00 00 00 00 ff 00 00  00 21 f9 04 00 00 00 00  |.........!......|
00000020  00 2c 00 00 00 00 0a 00  0a 00 00 02 16 8c 2d 99  |.,............-.|
00000030  87 2a 1c dc 33 a0 02 75  ec 95 fa a8 de 60 8c 04  |.*..3..u.....`..|
00000040  91 4c 01 00 3b                                    |.L..;|
00000045
Notice that the first characters are normal ASCII letters (which was a smart decision of the authors of the file format) and that unprintable values (e.g., smaller than 32) are replaced with a dot.
Everything is a file ⚓
The commands (except for uptime) that we have mentioned so far are
related to working with files.
That is not accidental. Virtually everything in a Linux system is a file. Starting from data files over devices to virtual files representing the state of the operating system.
The reason is that it is much simpler for the developer that way. You do not need special utilities to work with a disk, you do not need a special program to read the amount of free memory. You simply read the contents of a well-known file and you have the information/data.
It is also much easier to test such programs because you can easily give them mock files by changing the file paths – a change that is unlikely to introduce a serious bug into the program.
File system hierarchy ⚓
We will now browse the file system and mention some important
directories and files.
Open mc or use cd and ls and see these files on your system.
Move to the root, that is / and look at the directories there.
/boot contains the bootloader for loading the operating system.
You would rarely touch this directory once the system is installed.
/dev is a very special directory where hardware devices have their
file counterparts.
You will probably see there a file sda or nvme0 that represents your
hard (or SSD) drive.
Unless you are running under a superuser (more about that later),
you will not have access to these
files, but if you would hexdump them, you would see the bytes as they
are on the actual hard drive.
And writing to this file would overwrite the data on your drive!
The fact is that disk utilities in Linux accept paths to the disk drives they will operate on. Thus it is very easy to give it a file and pretend that it is a disk to be formatted. That can be used to create disk images or for file recovery. And it greatly simplifies the testing of such tools because you do not need to have a real disk for testing.
It is important to note that these files are not physical files on your disk (after all, it would mean having a disk inside a disk). When you read from them, the kernel recognizes that and returns the right data.
This directory also contains several special but very useful files for
software development.
/dev/zero is a file that returns only zeros when being read.
Perhaps not a feature you would use every day, but it can be easily
used to create files of a certain size by simply copying from this file.
/dev/urandom returns random bytes indefinitely.
It is probably internally used inside your favorite programming language
to implement its random() function.
/dev/full can be used to emulate a full disk.
Something that is otherwise quite difficult to setup.
We will show this in one of the later labs.
/dev/null can be used for storing an output we are not interested in.
In essence anything written to this file is discarded by the kernel.
Again, not a real file at all.
We will be using a lot this file later.
/etc/ contains system-wide configuration.
Typically, most programs in unix systems are configured via text files.
The reasoning is that an administrator needs to learn only one tool – a good
text editor – for system management.
The advantage is that most configuration files have support for comments and
it is possible to comment even on the configuration.
For an example of such a configuration file, you can have a look at
/etc/systemd/system.conf to get the feeling.
Perhaps the most important file is passwd that contains a list of user
accounts.
Note that it is a plain text file where each row represents one record and
individual attributes are simply separated by a colon :.
Very simple to read, very simple to edit, and very simple to understand.
In other words, the KISS principle in practice.
/home contains home directories for normal user accounts (i.e., accounts
for real – human – users).
/lib and /usr contain dynamic libraries, applications, and system-wide
data files.
/var is for volatile data. If you would install a database or a web server
on your machine, its files would be stored here.
/tmp is a generic location for temporary files.
This directory is automatically cleaned at each reboot, so do not use it for permanent
storage.
/proc is a virtual file system that allows you controlling and reading
kernel (operating system) settings.
For example, the file /proc/meminfo contains quite detailed information about
RAM usage.
Simply use cat to display its contents.
/proc/loadavg will tell you how loaded your machine is.
We have already used uptime for that, and in fact, uptime reads
information from this file in the end.
Again, /proc/* are not normal files but a virtual ones.
Until you read them, their contents do not exist physically anywhere.
When you open meminfo, the kernel will read its internal data structures, prepare
its content (in-memory only), and give it to you.
It is not that this file would be physically written every 5 seconds or so to
contain the most up-to-date information.
Manual pages ⚓
We have seen that the ls behaviour can be modified with -a, -d, and -l.
hexdump has -C.
Do you know that uptime accepts -s?
And that cat takes -n to print line numbers?
It is virtually impossible to remember all of this. Luckily, Linux contains so-called manual pages (or just manpages) that describe the available options for (almost) each program that you have on your system.
Execute man CMD to access a manual for the CMD program (substitute CMD
for actual command name).
Use arrows for scrolling and q to quit the manual.
You can search inside the page with / (slash) key.
Manual pages are organized into sections and you can specify the
section number as part of the man execution, e.g.,
man 3 printf opens a help page for printf() function in
the C language because that is the contents of section 3.
Note that man printf would show you the contents of printf manual
from section 1, i.e. the shell command.
Open man man to see the full list of sections.
Briefly, 1 is for shell commands, 3 is for library calls,
and 4 and 5 are used for specific files
(e.g., man 5 proc launches the manual page for the whole /proc
directory).
Note that manual pages are also on-line, hence you can study about your favourite commands even without access to your Linux machine.
Typical options ⚓
Many of the options are more-or-less standardized across multiple programs and are worth remembering.
Almost all GNU programs that you will have on your machine will print
a small help when executed with --help.
Try it for ls or cd.
--version could be used to print the version and copyright information of
the executed program. Sometimes -v or -V works as well.
--verbose or --debug (sometimes -v or -d) launch the program
in verbose mode where the program prints in more detail what it is doing.
--dry-run (sometimes -n) executes the program without performing
actual changes (e.g., it can print which files would be removed without
actually deleting any of them).
--interactive (sometimes -i) will typically cause the program to
ask for interactive confirmation of destructive actions.
-- could be used to terminate the list of options if you have filenames
starting with a dash.
For a classical example, move into the d subdirectory of nswi177-lab02
and list information about a file named -a.
Then check your result and try again using the -- delimiter.
Answer.
Other bits ⚓
Several assorted notes that really did not fit into the sections above but are worth knowing early.
Organizing your desktop ⚓
Do not be afraid to run multiple terminals next to each other.
Use one to navigate with ls and cd, use the other one
for Midnight commander to mirror your actions.
Open another one with a manual page for the command you are using.
Most desktop environments allow you to create multiple workspaces or desktops. Then, each workspace has its own list of opened windows, windows opened on other workspaces are not visible. This can reduce the clutter significantly and – with proper keyboard shortcuts – speed up your work.
Quick copy-paste (and forceful program termination) ⚓
Whenever you select a text in the terminal with your mouse, it is automatically copied. This text then can be inserted by simply clicking the middle-mouse button (or the wheel).
Note that the well-known Ctrl-C and Ctrl-V do not work in the shell
as Ctrl-C can be used to forcefully terminate a program.
However, Ctrl-Shift-C usually works.
Note that these are two distinct clipboards – the special one bound
to middle-mouse button and the one bound to Ctrl-C (Ctrl-Shift-C) and Ctrl-V.
In graphical applications, Ctrl-C and Ctrl-V work as usual.
Closing the terminal ⚓
To close the terminal, you can simply close the whole window (e.g., via
mouse) but you can also type exit or hit <Ctrl>-D on an empty line.
Because we are moving away from needing mouse (in a sense), you should
prefer <Ctrl>-D ;-).
Debugging issues ⚓
When running programs in the terminal, never paste their output as a screenshot. Instead, select the text (including the command you have run) and paste it as a text into the forum.
You may want to enclose the text in the fenced block ``` to preserve the monospace font.
```
ls nonexistent
ls: cannot access 'nonexistent': No such file or directory
```
Filenames and parameters with spaces ⚓
If you create a file called file with spaces.txt and then execute
ls file with spaces.txt
you will receive
ls: cannot access 'file': No such file or directory
ls: cannot access 'with': No such file or directory
ls: cannot access 'spaces.txt': No such file or directory
because the space (or tab) is used as a delimiter between parameters.
Hence, ls was actually looking for three files.
If you would use tab completion, your command would be completed with escape characters.
ls file\ with\ spaces.txt
Note that the output would typically look like this
'file with spaces.txt'
because using apostrophes (or quotes) is another way to specify that the space is a literal character and not a separator.
We will mention this again when talking about scripts, but it is something to remember: spaces in filenames can cause unexpected surprises and generally no system-generated files ever contain spaces in their filenames (unlike on other systems).
And yes, it is possible to create a file named ' ' (i.e., space) and show
its contents with cat " " but it is not a very sensible idea to do so.
It is similar to creating files starting with a dash – it is possible, there
are ways to bypass the issues (e.g., using -- delimiter) but it is just
simpler to avoid these issues.
Note about archiving ⚓
This explains further the philosophy behind .tar.gz.
The first program is tar that only concatenates (archives) the files.
If you would have file alpha.txt with contents ZULU and file
bravo.txt with contents YANKEE, archive.tar with these files
would roughly contain alpha.txt:4:ZULU;bravo.txt:6:YANKEE
(i.e. filename, file size and its content).
This file can be further compressed with any compressing program.
The big advantage of this kind of composability is that the tape archiver is a very simple program. It does not need to know anything about compression, it only stores the contents. On the other hand, the compression programs do not need to know anything about the file format, it only compress one file.
Other programs used on other platforms typically combine these two tasks together: compression over multiple files to create one compressed archive. Such program is typically much more complex, especially for the maintenance. And the options for choosing the right (combination of) archiver and compressor are somewhat limited.
It is important to note that the advantages are substantial when you need to
optimize – for example the distribution Arch Linux switched the compression
of its software packages several times already (as new algorithms were
added) to optimize for smaller sizes, thus increasing download speed.
If you need to send several files over e-mail, you simply send tar.gz :-).
We will talk about archiving from the command-line in one of the next labs. For now, Midnight commander should work just fine.
Graded tasks ⚓
You will need to download the nswi177-lab02-task.tar.gz file from the following
location:
https://d3s.mff.cuni.cz/files/teaching/nswi177/202021/tasks/nswi177-task02.tar.gz
By the way, download it from the shell, not from your graphical web browser :-).
02/quiz.md ⚓
Upload your answers to the file quiz.md from the archive you downloaded
(do not forget to put it into 02/ subdirectory).
Once we cover the shebang and the executable bit (next lab), you will start uploading
whole scripts instead of the excerpts we use in this quiz.
Updates ⚓
Q1, Q2: The sentence and the middle letter is any letter from your GitLab login (in lowercase) refers to numbers too, but we will accept also solutions with letters only.
Q6: This question refers to the mapping between devices and files that
represent them.
In other words, if you see the partition name in partitions, where would you
find the file representing this partition?
As an example, if the partition is xy in /proc/partitions, which path
would you pass to command for formatting this partition (e.g., mkfs.fat)?
This question is only about textual answer – do not provide any commands or
scripts.
Q8: As an example, for a path /home/intro/.././intro/.bashrc we would
expect /home/intro/.bashrc as the answer. Hint: no need to do this manually.
Deadline: March 29, AoE ⚓
Solutions submitted after the deadline will not be accepted.
Note that at the time of the deadline we will download the contents of your project and start the evaluation. Anything uploaded/modified later on will not be taken into account!
Note that we will be looking only at your master branch (unless explicitly specified otherwise), do not forget to merge from other branches if you are using them.